JéRÔME BEI

PHOTOGRAPHY

Work

Lightroom Presets

This is my free collection of Lightroom Presets I'm currently using for my Cityscape / Urban / Landscape photos. All of them will require some additional work on your end after applying the preset to a photo, meaning that you will have to open up the Lightroom masks and do the touch ups yourself (i.e. dodging / burning, adding texture) etc.
I'm not a fan of chunky global adjustments, I do prefer local adjustments, quite often by using brushes, objects or radial masks. Still, I feel these presets save me a lot of work in my image processing as all the mask layers already exist with their specific settings, all you need to do is to brush it into the photo.
To import the presets into your Lightroom Classic, please check out this tutorial.

Enjoy!

CITY AFTER THE STORM

Download

Cinematic Portrait

Download

Monochrome Portrait

Download

Cityscape: Purple Sunset

Download

Cityscape: Architecture LTE

Download

URBAN: Old Steel

Download

Street: Muted Colors

Download

MinimalisM: Seascape

Download

Golden City

Download

Rusty Structures

Download

Forest Waterfall

Download

Muted Seascape

Download

Scenic Lighthouse

Download

Night Street Glow

Download

Berlin Street Portraits

Download

Usage

Here's how the above presets can be used to their full extent:
After importing, they should show up in a new preset group called "__Jeromebei.Com__". Simply take a photo of your choosing, go to Develop mode and apply one of the presets. Most of them will have a number of masks applied, commonly radial and person masks. This means the masks will auto-detect if there's a person in the image and apply its settings to that person (for the portrait presets). Others will try and detect the subject in the scene.

This describes the workflow I'm using after applying a preset:


First, look at your Histogram. You might want to adjust your Whites and Blacks, so that the full extent of the dynamic range is represented in the picture. In order to do so, hit the "Alt / Option" key, and adjust the White / Black slider from the Basic settings.


Next, you'll need to adjust the masks. Check if the subject has been detected correctly. If there's a vignette mask, position it over your subject and adjust its size.

Some presets will contain additional radial masks to cast a specific color to the background. They should detect the background only and move behind your subject, but you might want to change the position of the radial filter to cast the color where you want it.

Some other presets will have predefined empty brush masks for dodging and burning. Select them one by one, and brush in your dodging and burning.

That's it, you're done.

About

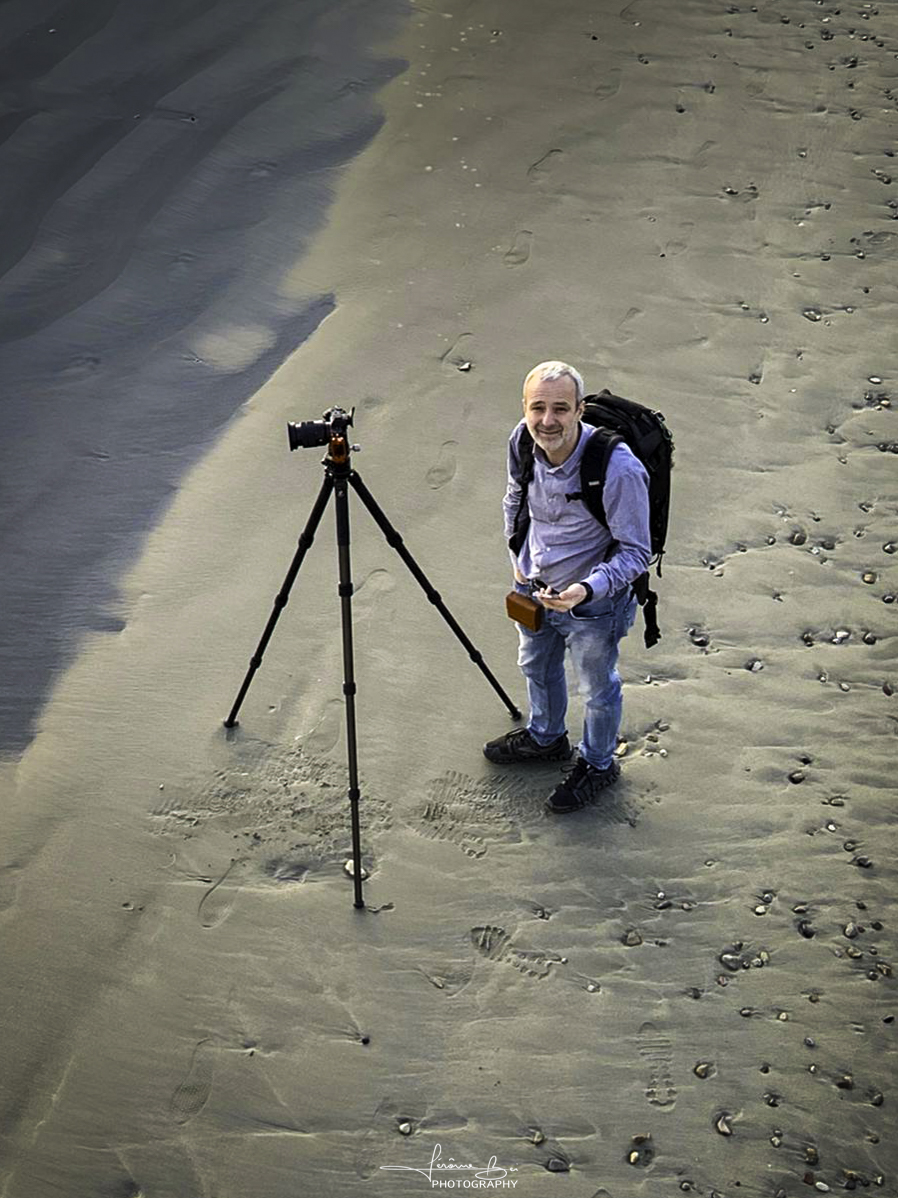
Born in Luxembourg in 1972, my interest in photography began at the age of 12. Over the years I've been through a number of stages, influenced by a range of professional photographers of all sorts such as Adam Gibbs, Gavin Hardcastle, Mads Peter Iversen, Mark Denney, Nick Page, Nigel Danson, Thomas Heaton, Serge Ramelli and many more.

In 2017 I began to submit my work to a variety of international photo salons. Although I quickly got some recognition, 2 years later I realised that I didn't get into photography to compete with others, instead, I wanted to further develop my own style.

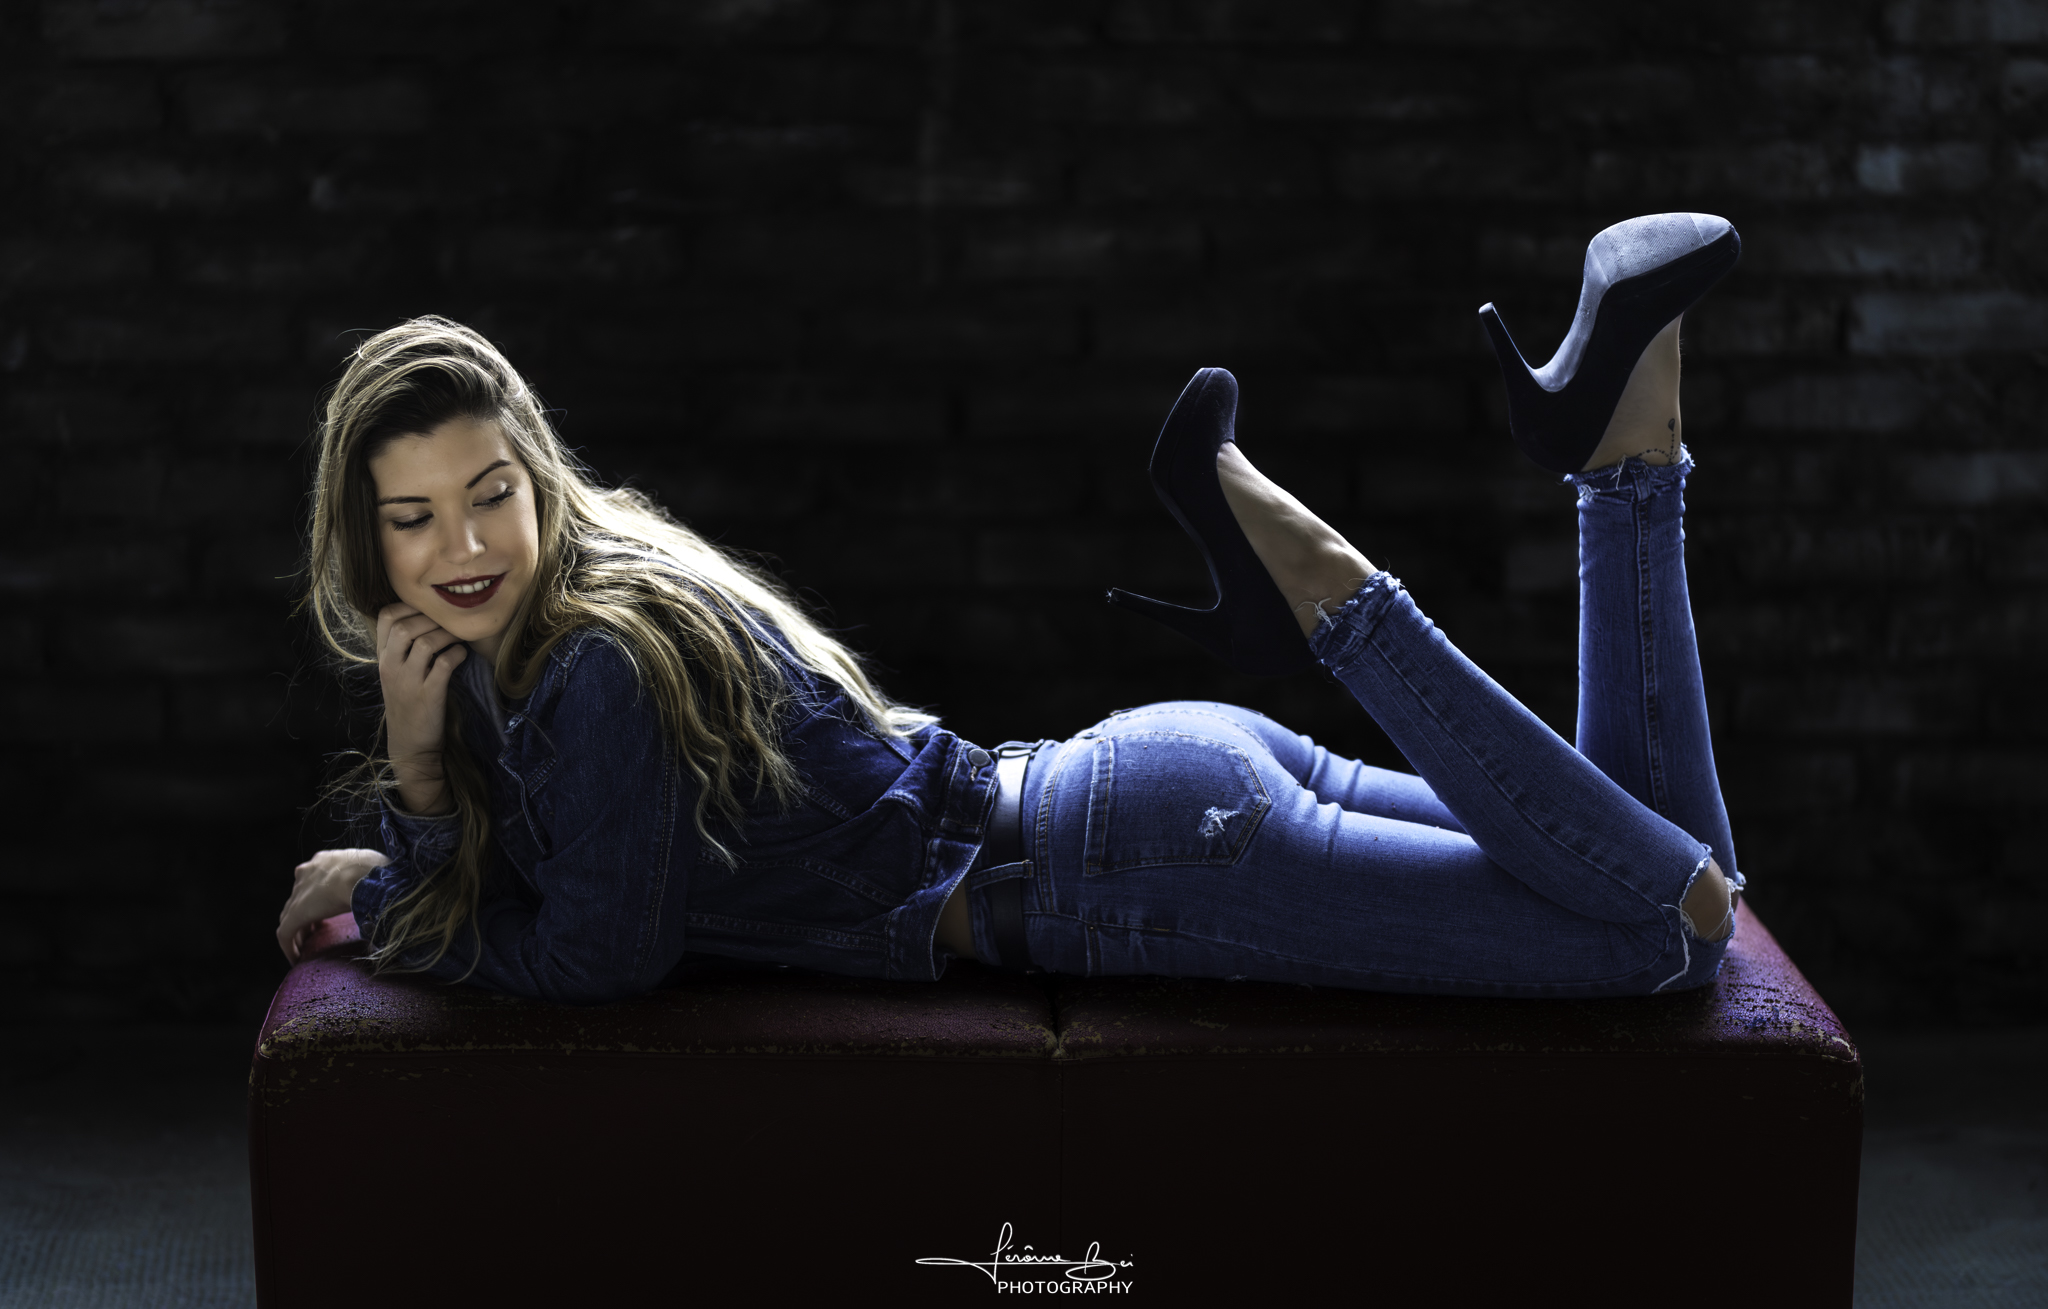
So that's where I am right now. I'm pretty much into landscapes and cityscapes, although I've been working with models over the past couple of years as well. 

Thanks a lot for stopping by, I really appreciate it! I sincerely hope you enjoy your visit, and I'd like to encourage you to come back every now and then, I'll make sure to keep the site up to date.

Contact